

Frogger Ep1 : Supporting Video ()
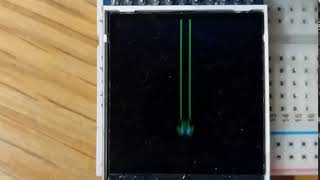
A supporting video is available for the Frogger Episode 1 article. Note that the project will now use an ESP32 MCU rather than the ESP8266 one mentioned in the video. See the article for clarification of why it was changed. here's the video:.....
Frogger Ep1: Stopping graphics flicker and improving display speed ()

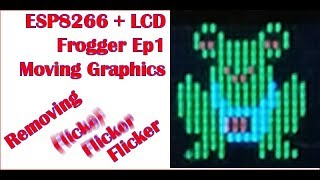
In this first post in the "Frogger" series (Where we'll write a working version of the arcade game Frogger) we look at solving the initially poor display speed over SPI and the associated flicker problems that occur with displaying changing or moving graphics. http://www.xtronical.com/projects/frogger/frogger-ep1-graphics-speed-flicker/.....
Frogger Ep1 : Graphics Speed and Flicker ()
Stop Press : Whilst in the process of writing the next article in this series it has become apparent that the ESP8266 processor being used (and at first thought suitable for this project) just doesn't have enough inputs available (certainly not on the NODEMCU Dev. board I was using) to handle the SPI screen and the user direction controls. No matter how.....
Removing libraries manually ()
If you want to remove a library manually from the Arduino IDE then you need to find your libraries folder. If your not sure where it is then go to "File->Preferences" and at the top you will see a path for your sketches. For example mine looked like this C:\Users\Laptop\Documents\XtronicalGraphics Open this location and within it you will see a.....
Supporting video for embedding colour graphics in code ()
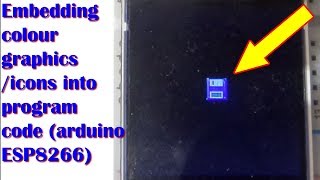
A supporting video for this article is available showing the steps you need to add graphics data directly into your source code......
Displaying embedded colour graphics on a LCD ()
In this article we look at how to include data for colour graphics within our actual program code http://www.xtronical.com/basics/displays/lcd-tft-colourcolor-display-128x128-pixelst7735-driver/displaying-embedded-colour-graphics/.....
Displaying embedded colour graphics ()
If your seeing this page without having set up a TFT screen with Arduino or NodeMCU then first see either of these two guides Colour LCD with Arduino Colour LCD with NodeMCU ESP8266 There is also a supporting video for this page: So we have a colour LCD on which (thanks to various graphics libraries) we can draw lines,.....
Video: Adding generic colour LCD to a NodeMCU ESP8266 ()
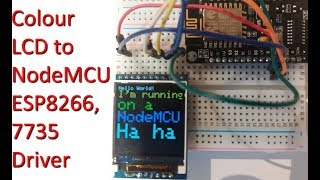
In a follow up article to connecting a colour LCD to an Arduino here in this video we connect the same LCD module to a NodeMCU ESP8266 board. This video supports this article.....
Using 7735 driver based colour TFT LCD with NodeMCU ESP8266 ()
In this article we connect a colour screen previously used with an Arduino (see here)Â to a NodeMCU dev. board based on the ESP8266 processor system. Click below for full article http://www.xtronical.com/basics/displays/lcd-tft-colourcolor-display-128x128-pixelst7735-driver/128x128-colour-lcd-nodemcu-esp8266/.....
128x128 Colour LCD to NodeMCU ESP8266 ()
For an upcoming new project I wanted a colour (UK spelling) LCD screen (ideally OLED), 256x256 (or greater) resolution and nice and cheap. It was not an easy 2 minute task. There were no OLED screens offering what I wanted (that I could see at the time). So compromises were made, in the end I purchased a 128x128 pixel screen.....